All posts by liam

Back the Kickstarter and you can get your own ISS-Above!

ISS-Above has been successfully implemented at numerous locations throughout the world (Thank You Beta Testers) now is the time to move this to the next level.

My plan and wish has always been to use the ISS-Above as a means to spread greater awareness and appreciation for space/science/astronomy throughout the world. Kickstarter offers a means to do that by providing an opportunity for you to back great project and to get one of these devices for yourself.

Please check out the Kickstarter

Become-A-Backer-SQUARE

ISS-Above is spreading around the world

Although ISS-Above is still in Beta development we already have units in the USA / UK / The Netherlands / South Africa and Australia with further sites in development.

This map will give you some idea of where all the ISS-Above devices are currently located around the world.

[advanced_iframe securitykey=”da39a3ee5e6b4b0d3255bfef95601890afd80709″ src=”https://mapsengine.google.com/map/u/0/embed?mid=zRfZwA01lTy8.kBqo6iqiQtWs” width=”640″ height=”480″]

Thank you to all the Beta testers who have helped so far.

Featuring the PiGlow Ledborg BlinkStick and Adafruit LCD

ISS-Above: video showing different display devices

This video shows how the ISS-Above lights up when the International Space Station is nearby using a variety of different attached display modules .

The video features the following display products

Ledborg from Pi_Borg

The PiGlow

The Blinkstick

ADAfruit’s LCD display

Also a custom (one of a kind) modified ISS-Light

The video also features 3D animation of the ISS created using Solar Walk – an iPad app from Vito Technologies (if you have an iPad/iPhone… you MUST get this).

Viewing additional information from ISS-Above via your phone or iPad

So.. you all know the ISS-Above devices lights up and makes a general “kerfuffle” when the ISS passes overhead.   That’s all very nice of course.  But I just realized I want to allow someone who is nearby the device to interact with it in other ways… and to be able to see more information.   But… how to do that if the ISS-Above has not got a “regular” display attached?

Simple… I wrote some additional code that implements a WEB SERVER right on the device.

Now.. anyone who is nearby can just tap in a URL that will connect to the device – which will then respond with a web page with lots more information.

e.g. This is what I have currently working on the beta version of the device.


Next passes of the ISS from ISS-Above

Date Brightness Start Highest point End Closest Pass type
[Mag] Time Az. Time Alt. Time Az.
Nov 25 01:56:30 WNW 02:00:38 7 02:04:46 NNE 1721km night (shadow)
Nov 25 03:35:53 NNW 03:38:58 3 03:42:04 NE 2059km night (shadow)
Nov 25 -0.5 05:12:58 NNW 05:17:21 9 05:21:45 ENE 1601km night visible
Nov 25 06:49:11 NW 06:54:43 47 07:00:15 ESE 594km daylight
Nov 25 08:26:22 WNW 08:31:02 13 08:35:42 S 1344km daylight
Nov 25 21:53:33 S 21:57:58 10 22:02:23 ENE 1521km night (shadow)
Nov 25 23:28:38 SW 23:34:12 62 23:39:46 NE 513km night (shadow)
Nov 26 01:06:58 W 01:11:27 10 01:15:57 NNE 1519km night (shadow)
Nov 26 02:46:33 NW 02:49:43 3 02:52:53 NNE 2047km night (shadow)
Nov 26 0.7 04:24:08 NNW 04:28:02 6 04:31:56 ENE 1791km night visible

How neat is that!

I have MANY more ideas on what I can do with this little web server on the Pi.   Wait and see.  Let me know what you think in the comments.  THANKS!

Want to join the ISS-Above beta?

I’ve received a number of inquires  on how to join the Beta for ISS-Above.  If you want to join… please be sure to complete the contact form on the home page

All you need to get started is to purchase the basic elements.
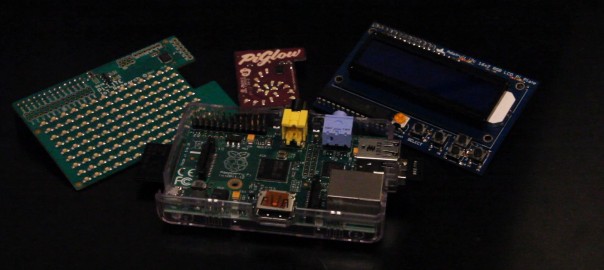
  1. The Raspberry Pi
    1. I recommend purchasing a kit – which includes the Pi – plus power supply / case / SD card (with the Raspberry Pi’s operating system pre-installed).  This particular kit does not include a WiFi adaptor.  You will need to connect this to your cable modem/router via an ethernet cable.  If you prefer to use a Wifi adaptor I recommend this one.
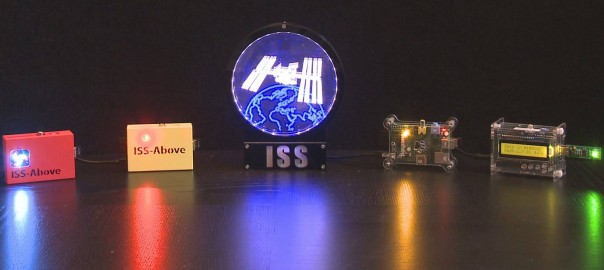
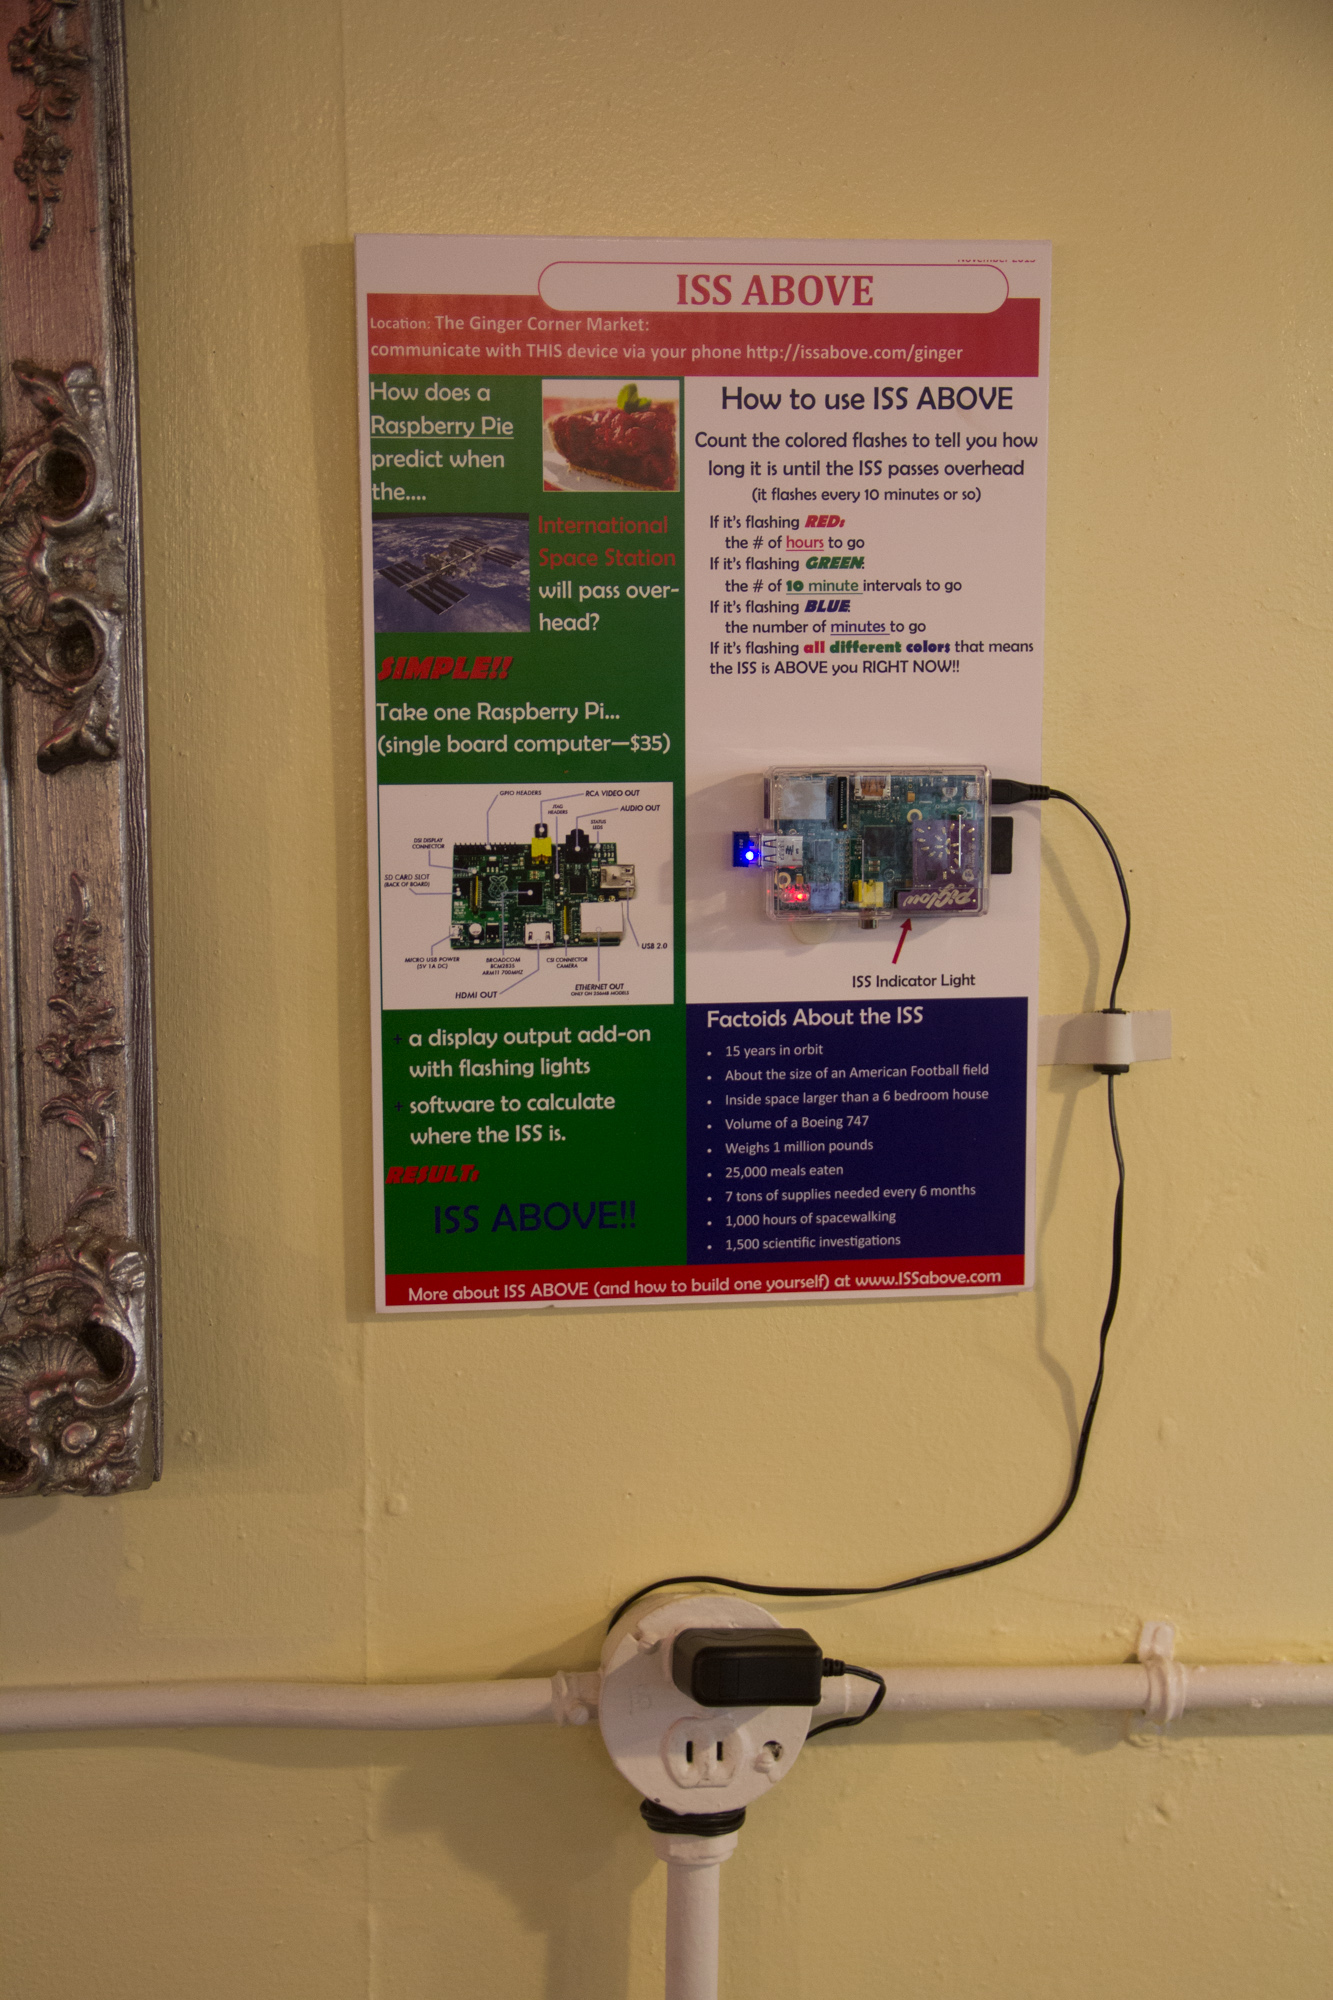
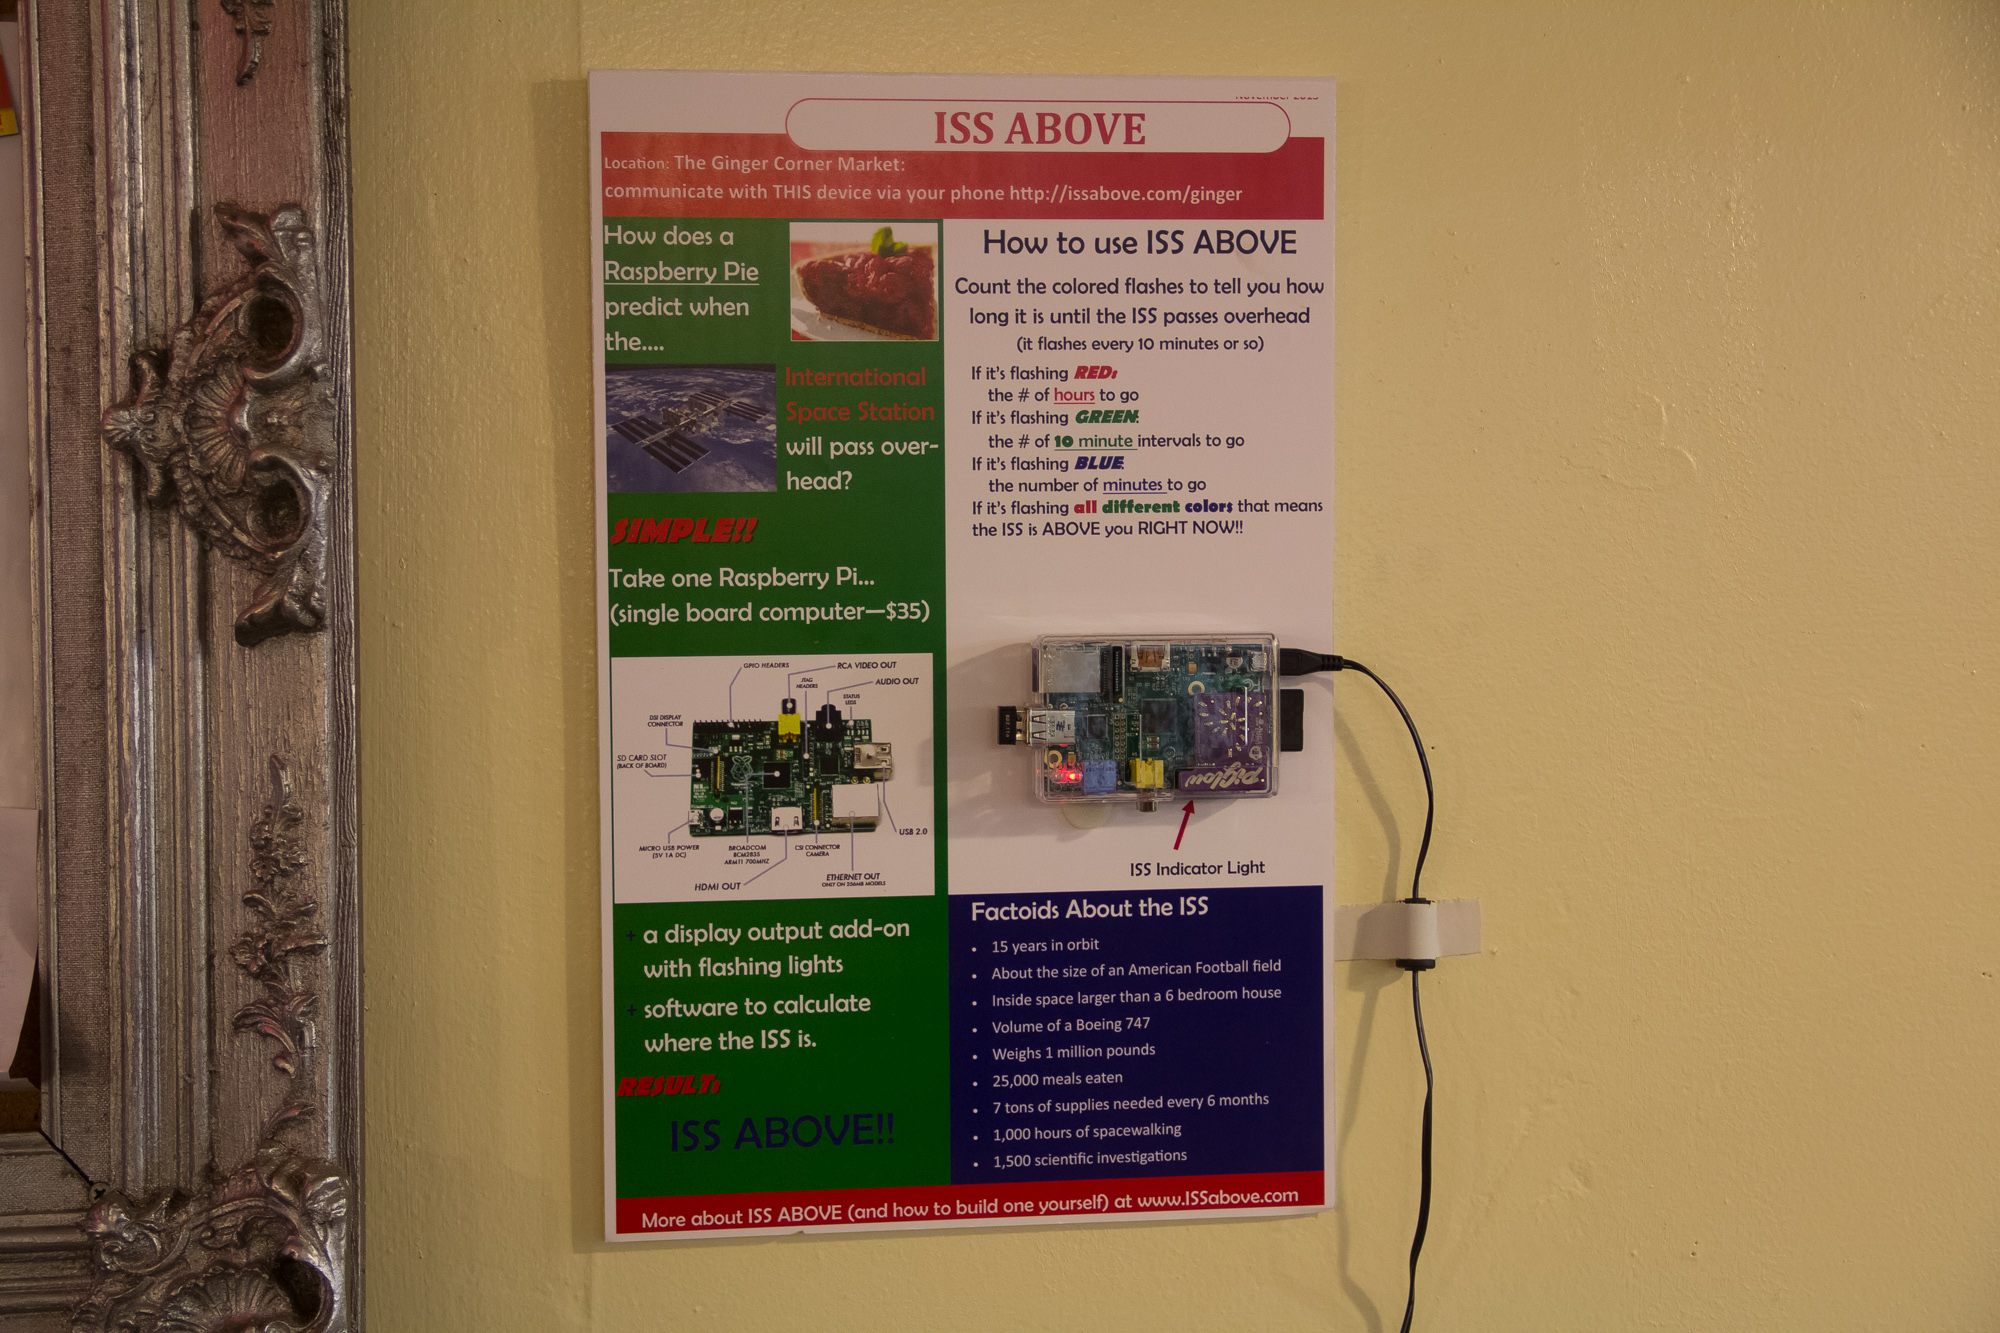
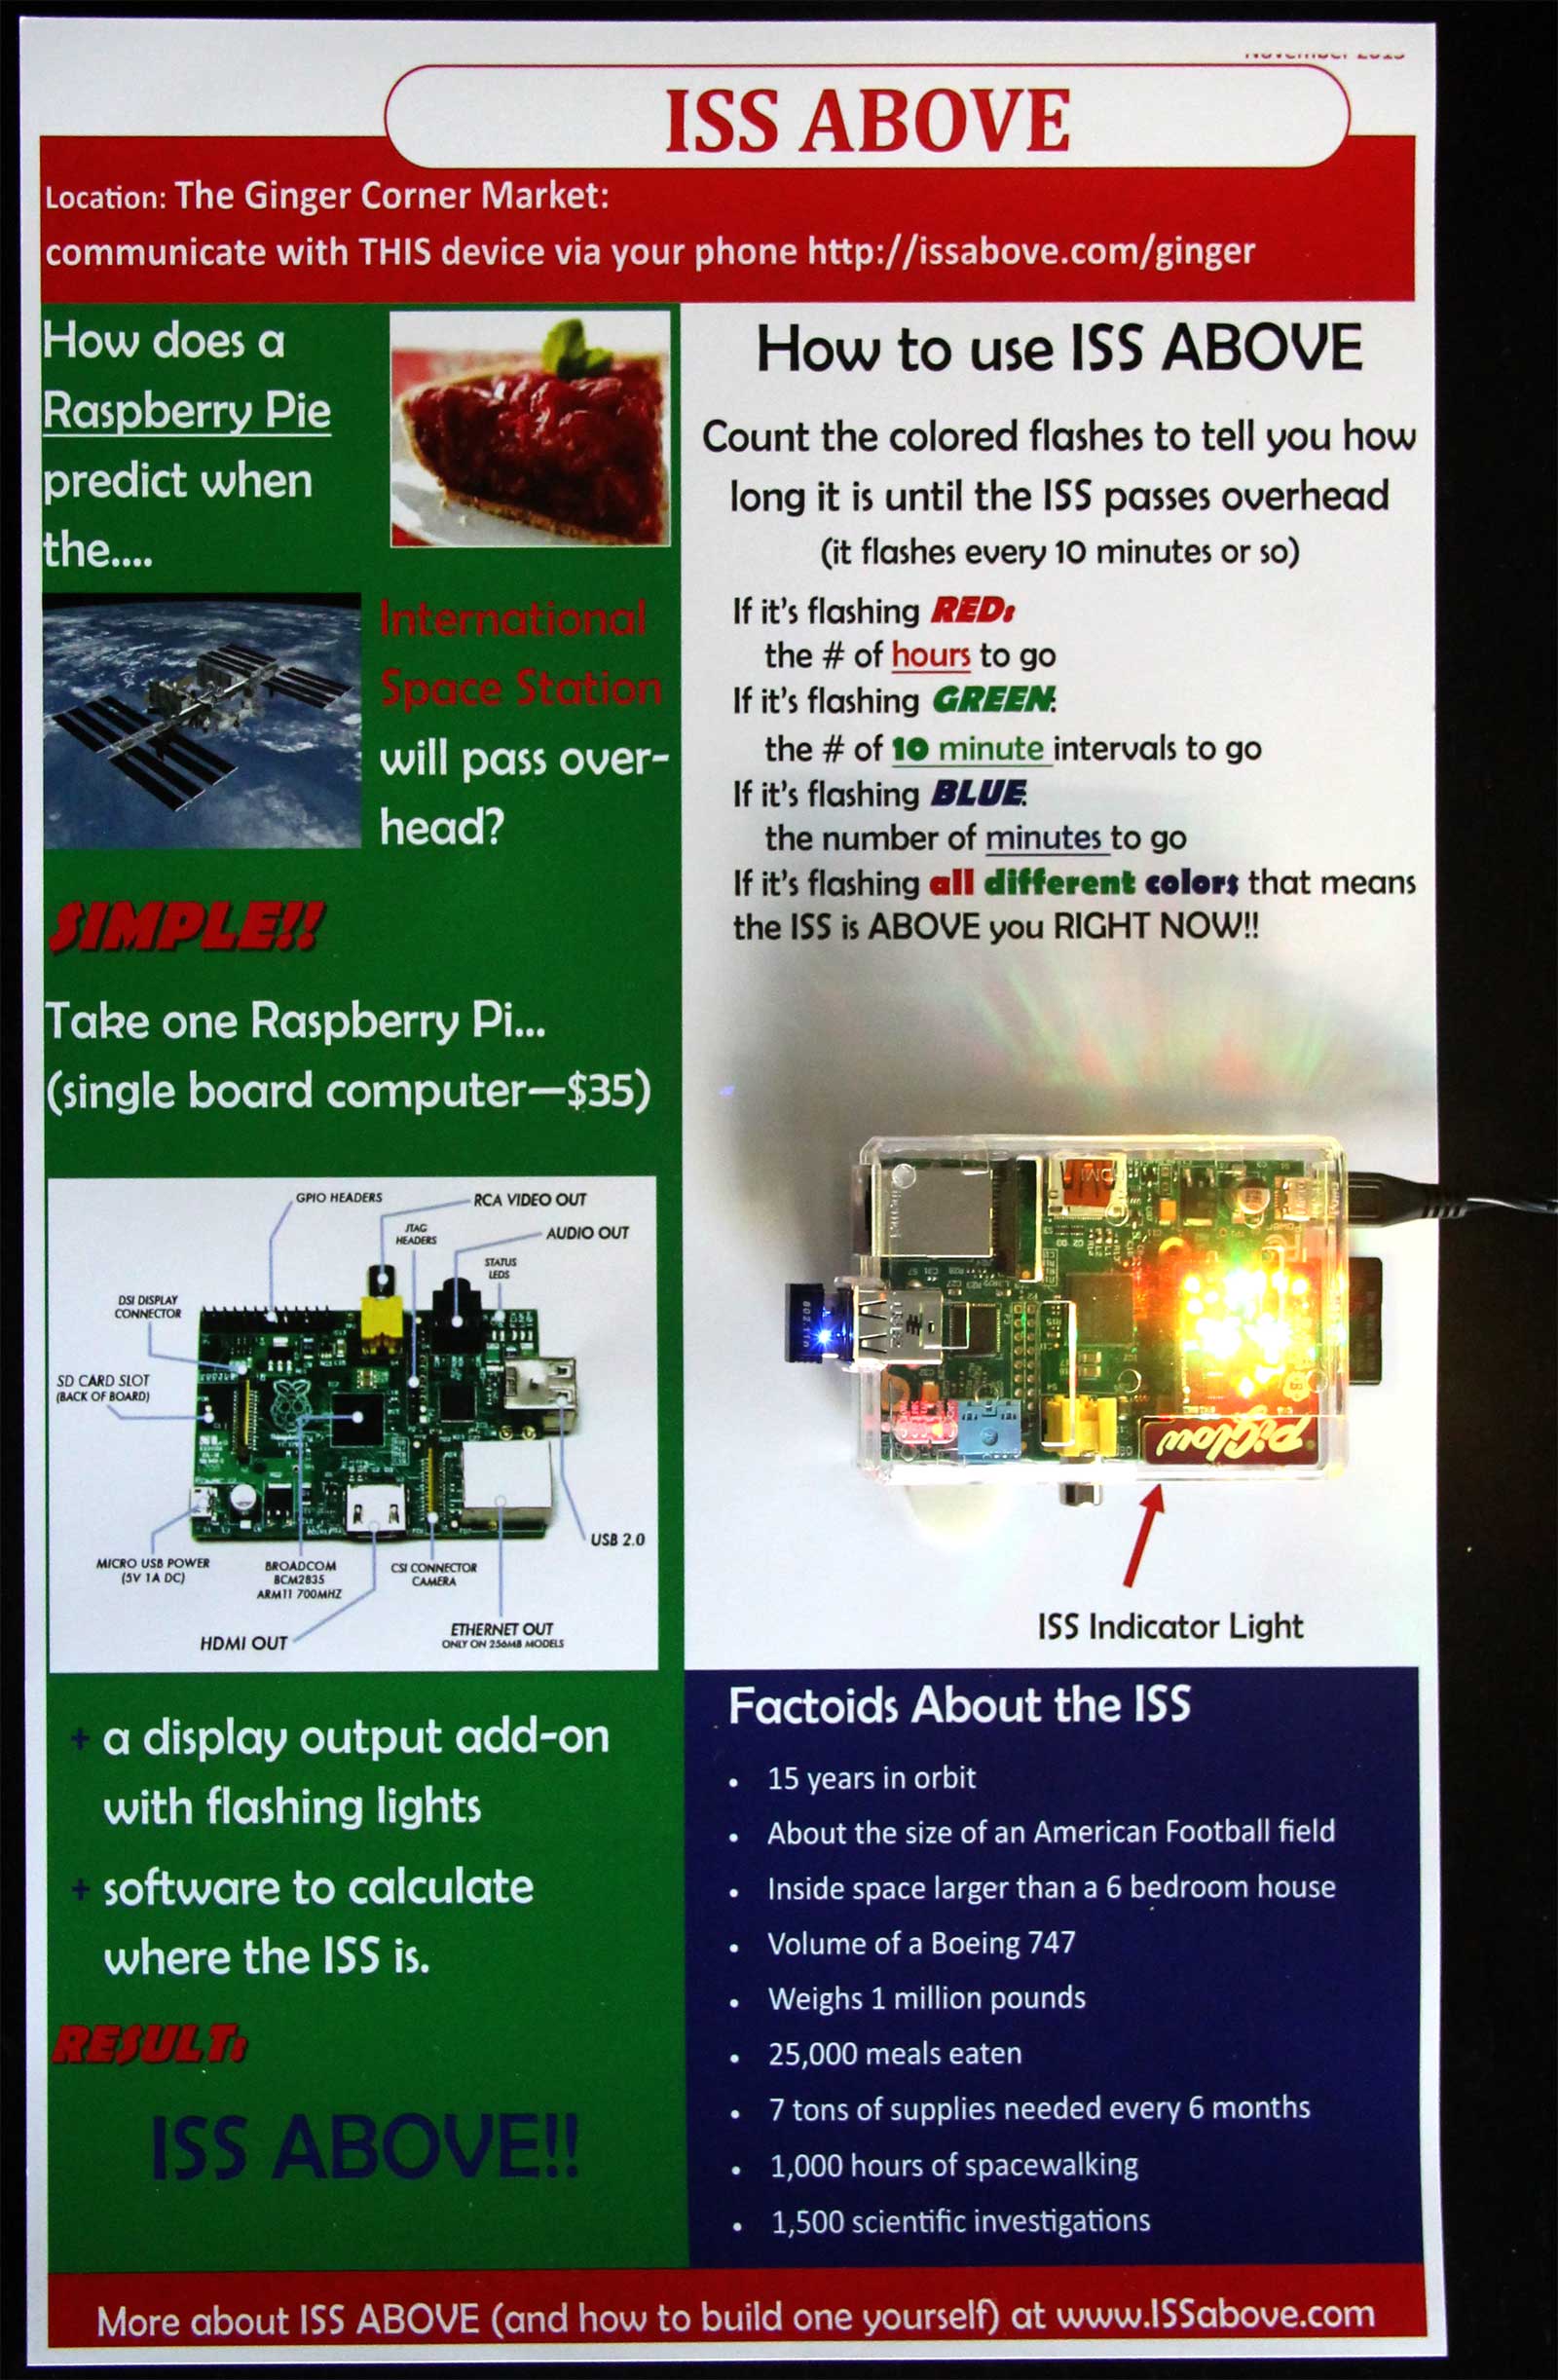
  2. Your chosen display device.
    As you’ll see from the “Version” menu above I’ve listed the “display” devices I have already got working with the ISS-Above software.   Just pick whichever device you want to use.

    1. I would recommend the PiGlow for it’s simplicity / low cost and how colorful it is.  At just $12.99 in the USA it’s quite a bargain.

Get that gear ordered and make sure to let me know you have done that so I can email the Beta code to you (to get my email address make sure to use the contact form on the home page to indicate your interest in the beta program)

While the setup does not need you to be a “computer expert” you may need to learn some new tricks with regards to working with Linux (rather than Mac OS or Windows).  It’s not a difficult thing to do… and I personally had virtually no experience with Linux before doing this.   I’ll be sure to help out in any case with any questions you may encounter.

Before installing ISS-Above you will have to run through a basic setup of the Raspberry Pi. To do that you’ll need to connect the Pi up to a monitor/TV using an HDMI cable and a USB keyboard.

Basic setup instructions for the Pi can be found here.  Those instructions are actually more than you will need to do.  If you ordered the kid I specified above you will already have the SD card already setup.  So you can literally just plug everything in and power up.  Then select the correct operating system from the menu (the one for Raspbian).

To do some of the setup (especially related to getting ISS-Above working) you’ll need to be prepared to type in simple text commands to the Pi to install certain code libraries from the internet.

It’s a very quick setup I promise.